I have no idea how this came to my attention, but I'm suddenly into hydroponics. It's not about the unlimited tomato sauce I can make, I think it's all about building something cool.
I play a game called Space Engineers, where the goal is to build very complex systems, vehicles and survive in space.
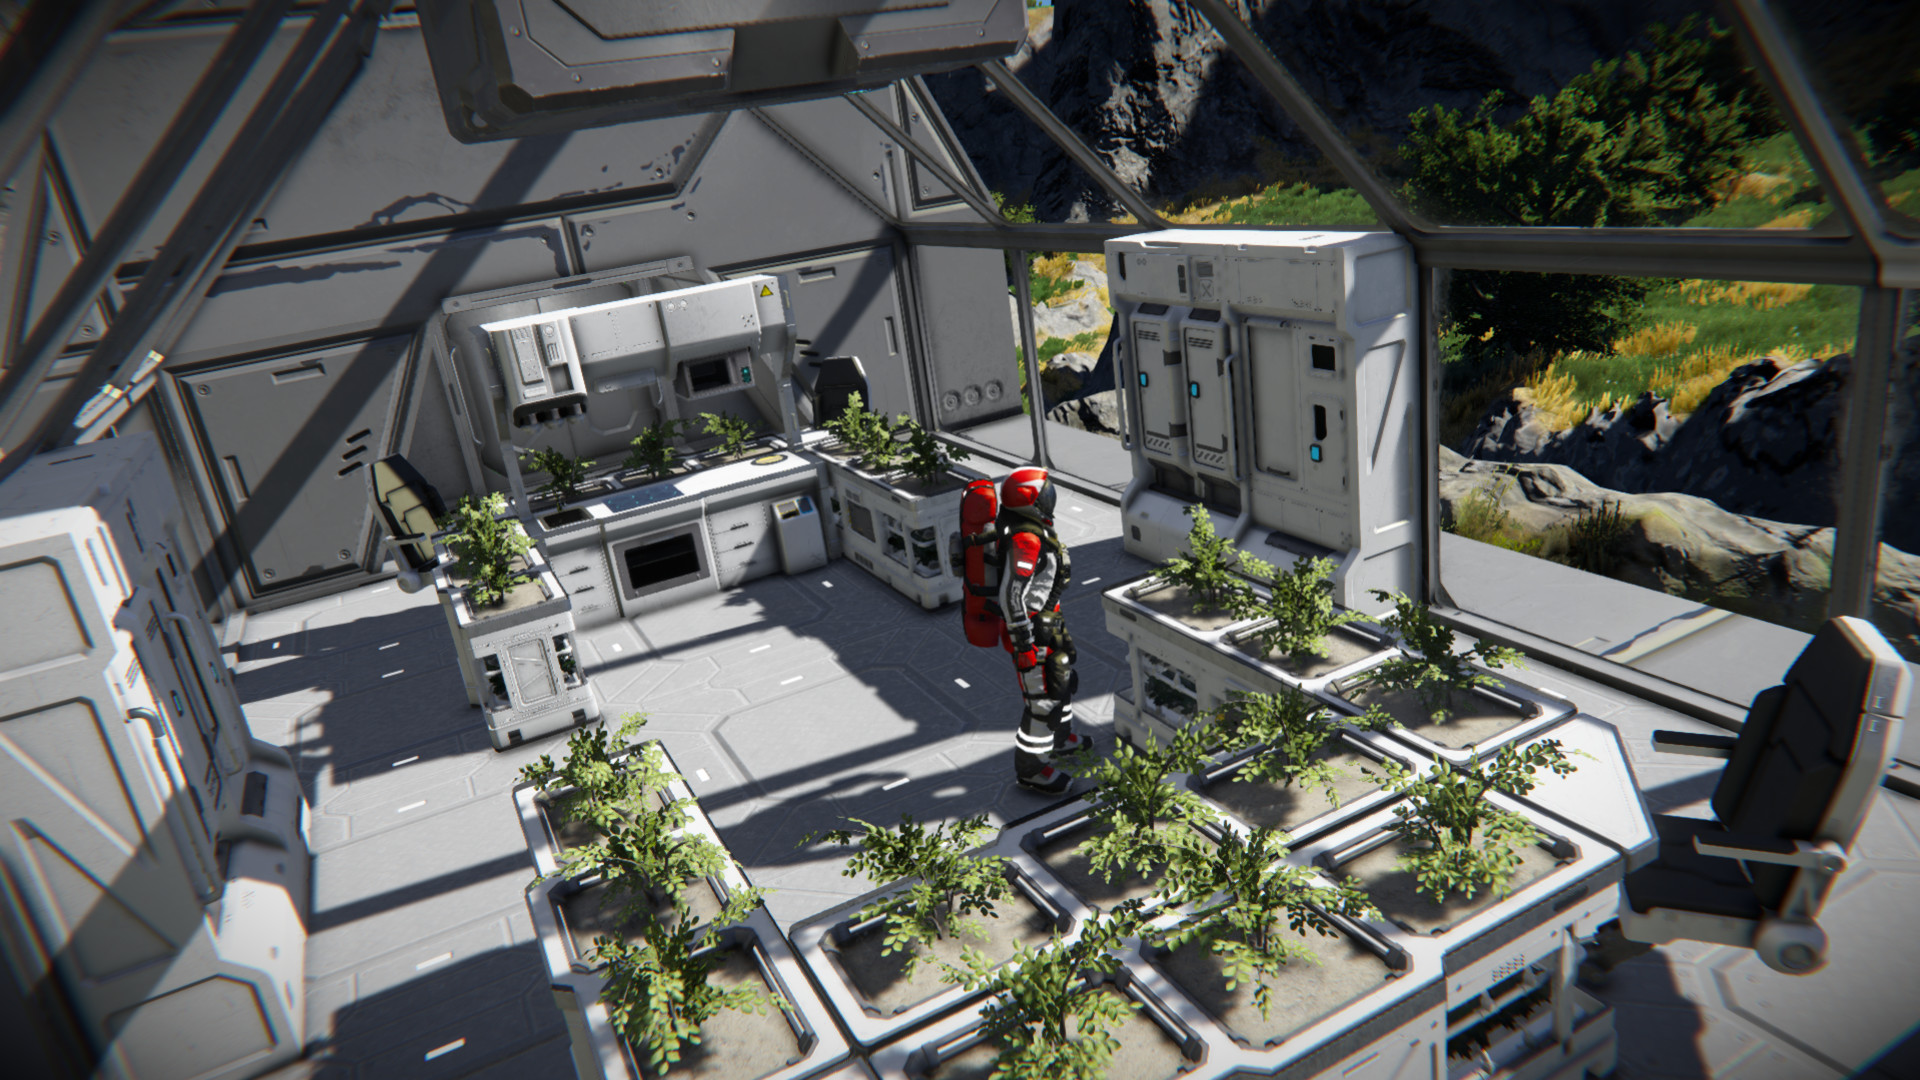
Recently they released a purely decorative DLC where you can add things like desks and you guessed it, hydroponics. Though it has no mechanical purpose other than to look awesome, I still had the idea to grow things like this.
I know nothing about hydroponics so I Googled it. It turns out hydroponics grown foods don't sit in soil, as the name suggests, only water is used. I can make a system very easily with things I have in the house. The only thing I am really missing is what the various websites call 'Growth medium'. This is the gravel sized material that the plants sit in, that the water runs through.
That's not very Space Engineer of me though is it? If i made the simplest possible grower, It would not be automated, and I'd have to water it manually, and it needs more care and attention. For this to be even remotely attractive for me, I'm going to need this to be automated.
After some research I decided my best bet was the 3Dponics system linked here:
https://www.3dponics.com/wiki/instructions-drip-system/
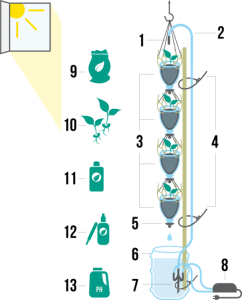
So, this diagram basically shows how it's all put together, but this is the general gist of it:
We use a pump to push water up high and then let it fall into an upturned bottle, containing some growth medium and a plant. The water runs over the roots of the plant inside the medium and this makes the plant grow. The water runs down through the bottom of the upturned bottle and down onto the next bottle, containing the next plant, then through to the next plant and so forth. We have a reservoir on the ground to catch the water as it runs off. It's this water we pump then up to the top, starting the cycle again.
There is no soil in this system and using water can make the plants grow faster. Mimicking the way I play Space Engineers, I want to get it working first, and then optimise.
So lets get started, what do I need?
3D-printed silencer
We will be using this part to ensure the system is quiet. It will likely be running all day and all night, and I don't want it making a loud sound all the time from either the moving water, or the pump I'll be using to move the water to the top of the system.

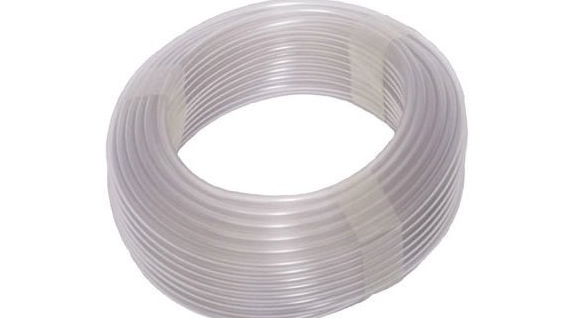
Rubber tubing (about 10 ft)
I will be used some basic rubber tubing to move water around the system. This type of tubing is normally used in a fish tank.
Get it here -> https://amzn.to/2ZoL466
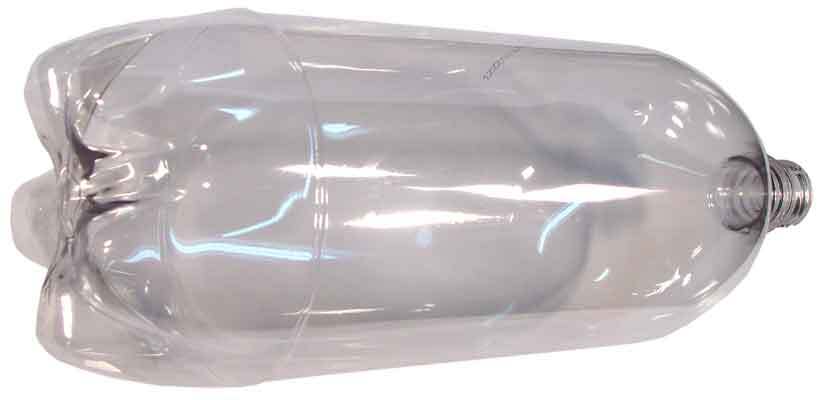
Four empty plastic bottles (2 L recommended)
Your basic pop bottle. These are free whenever you drink soft drinks. I'll be starting with 4 of these.
20 zip ties (approx.)
Basic zip ties -> https://amzn.to/2HCXBrP
Four 3D-printed drip nozzles
These will go on the bottom of the bottles and allow the water to be directed down into the next bottle. They also have a set of holes for our cable ties, so we can attach the next bottle in the sequence. You might notice that there are threads on the inside of the 3d model, this is so it can screw directly onto the cap part of the bottles we will be using.
Water reservoir (8 L capacity)
A bucket. Really. Just a bucket will do for this MVP.

3D-printed conduit
This part I decided to upgrade the basic version. The original system has a 3D printed part that allows water to be pumped up a tube and this pulls water up with it, allowing me to use a cheap aquatic pump to move water up into the system. There is a more efficient way to do this with less printing time.
Here is the one I printed this morning to get started.
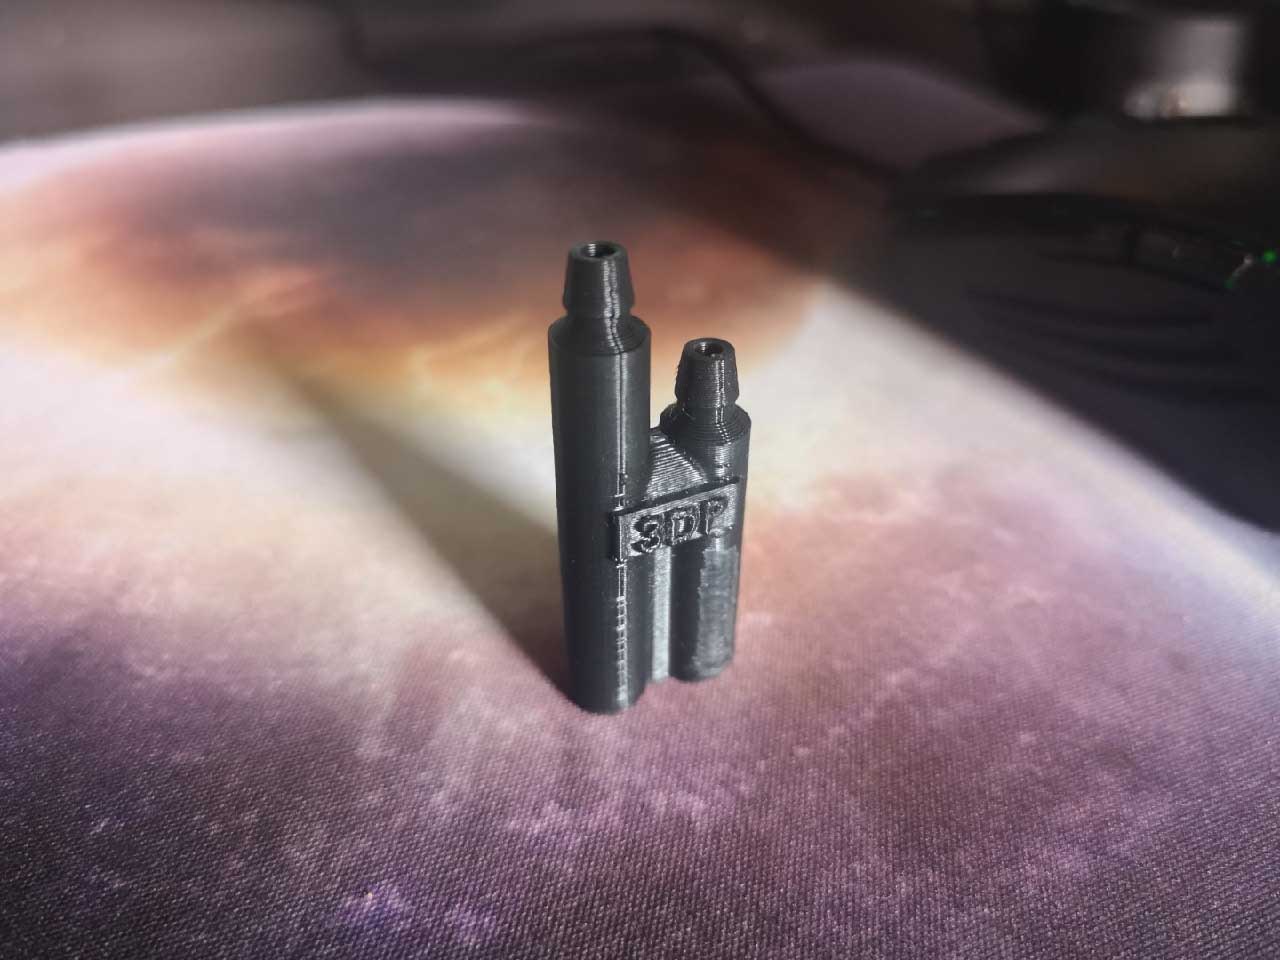
It uses the Venturi Effect to move the water, discussed here on Wikipedia
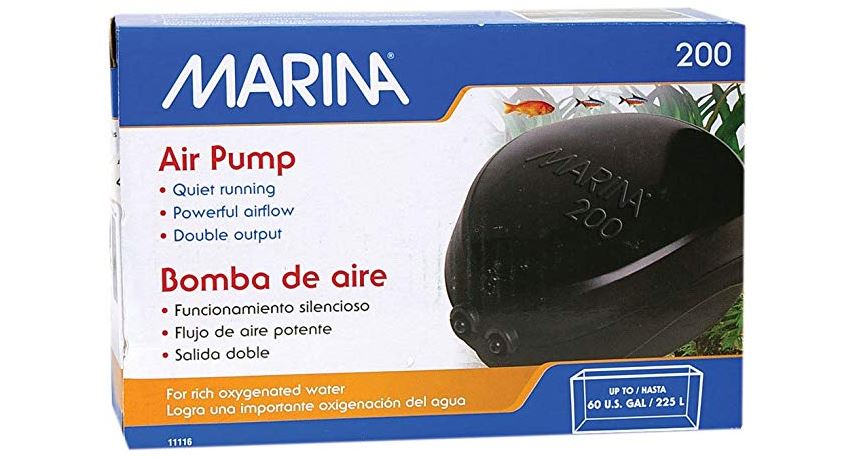
Air pump (e.g. Hagen Marina 200)
I'm using the pump suggested by the website I got all these designs from. According to the other Google searches I did, its a good pump anyway, quiet and uses very little electricity.
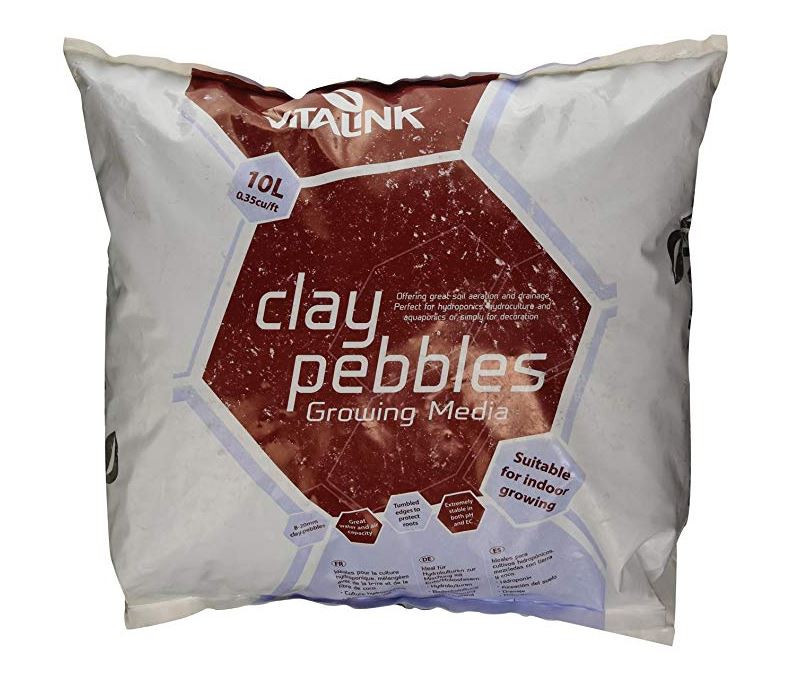
Growth medium
Earlier I mentioned growth medium is something to hold the plants so water can move over the roots. I did a quick Internet search and some of the discussions led me to this one:
I bought this one -> https://amzn.to/2ZuVgKk
Things I have not bought yet:
- Nutrient solution
- pH testing kit
- pH modifier kit
When it is in full swing, I will need to monitor the pH of the water in the system to keep it within a certain level if I want the plants to stay healthy and grow optimally.
What's Next?
After my remaining items arrive in the post I'll be doing a quick inventory and then beginning construction.
See you for part 2: The build!
