I bought a 3D printer
After I got my 3D printer, I initially printed a collection of unrecognisable broken squiggles followed by much more useful modifications to the printer itself. Little clips and fins, modifications to the printer to allow it to be quieter, faster and more accurate.
After this first phase I wanted to print something useful.
I love Netflix right now, there are some fun things on there, but I found myself tied to the desk or living room chair while I watched them. Some of the things I wanted to watch were documentaries, of which Netflix has plenty.
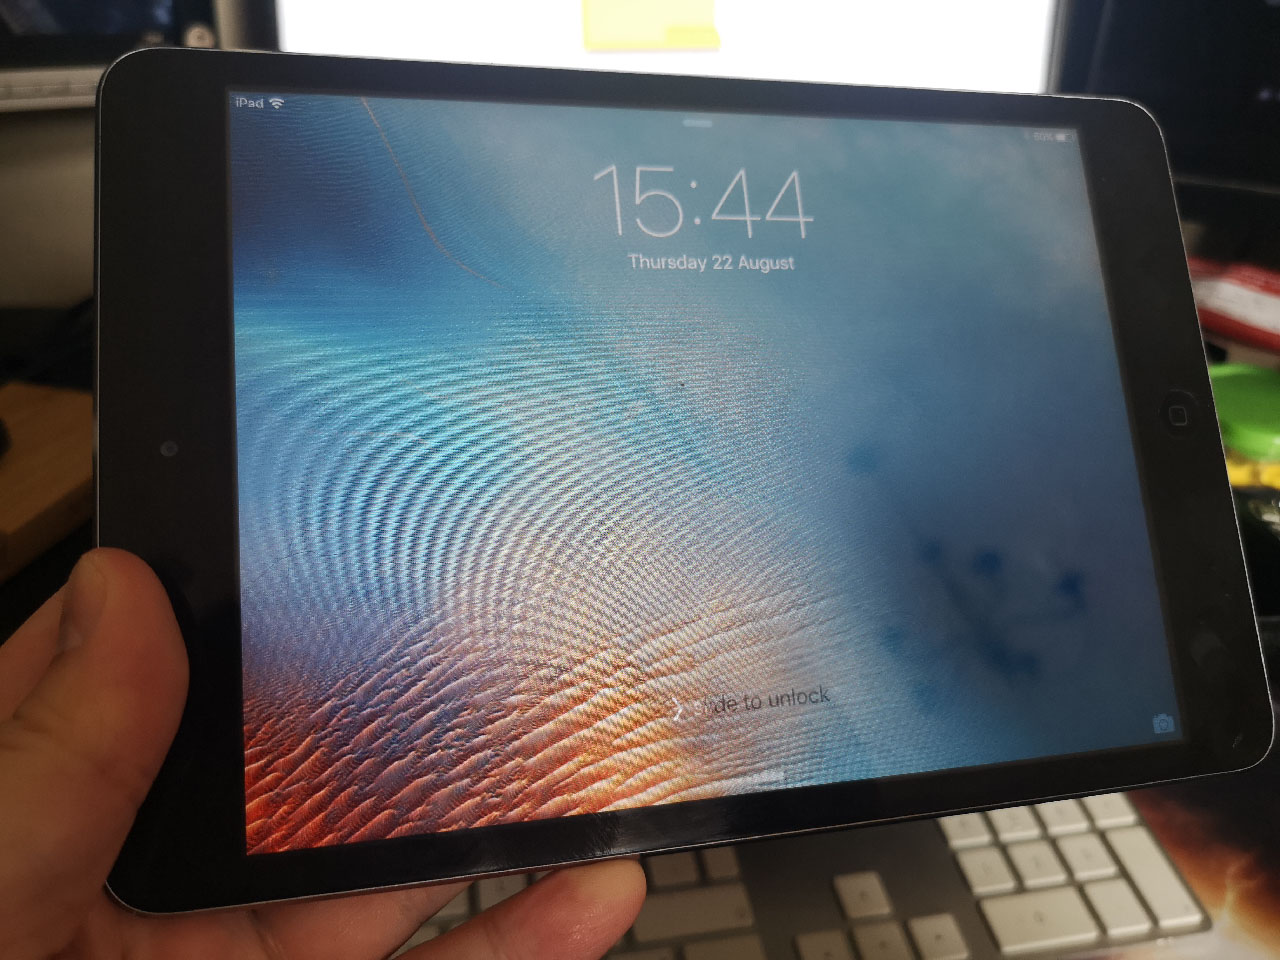
I want to put a tablet in my kitchen, on the wall, so I can prepare meals and wash up, as well as take in the shows I wanted to. I have an old iPad-Mini, it still runs Netflix (albeit an older version), so lets put it on the wall.
First lets set out some criteria for our wall mount.
- I dont want to download one and just print it, where is the fun in that?
- I want to use as little plastic as possible
- I want it to take as little time to print as possble
- I need to be able to fix it to the wall
I want to use as little plastic as possible
I dont want to download a design so lets make one ourselves.
Lets go with the most minimal design, I want to hold the corners against the wall. I think I want to be able to remove the tablet should it break or need servicing so I guess the top corners should be open so I can slide it out.
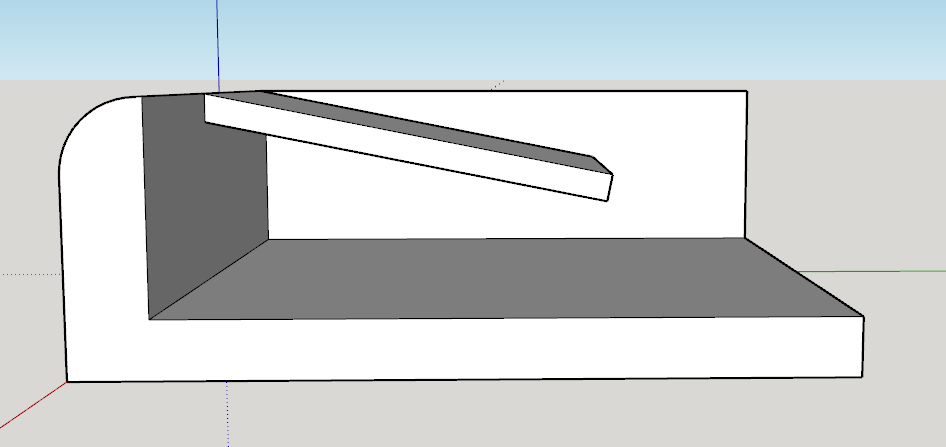
My first design for a corner bracket looked a bit like this:
My idea was that i would make it wider than it needs to be, and then have this little plastic part bend, applying gentle pressure the keep the tablet pressed against the wall, keeping it from jiggling around when the touch screen was used.
This turned out to be a terrible idea. The part i made to flex was too brittle and snapped off with very little effort. I don't think the material (PLA) I used is meant to bend this way. It's a little flexible, but not enough to work the way I imagined. I guess I learned how inflexible right here:

So, lets forget about that and just make it the right width for the device.
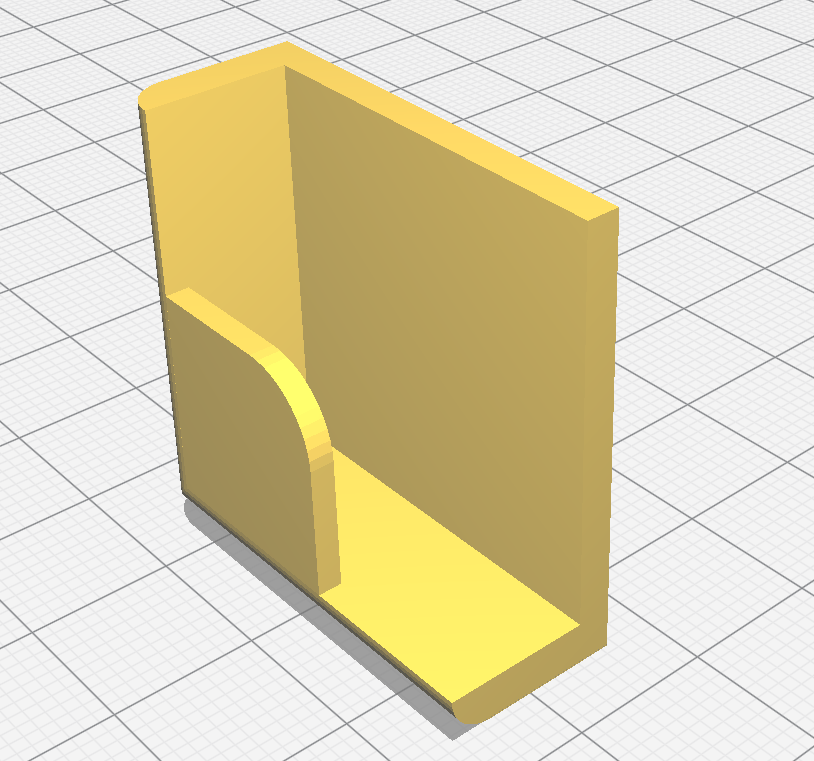
Having a little tab like this is stronger for the print, and fits perfectly (I looked up the width of this device on Google).
I rounded some edges and printed one:
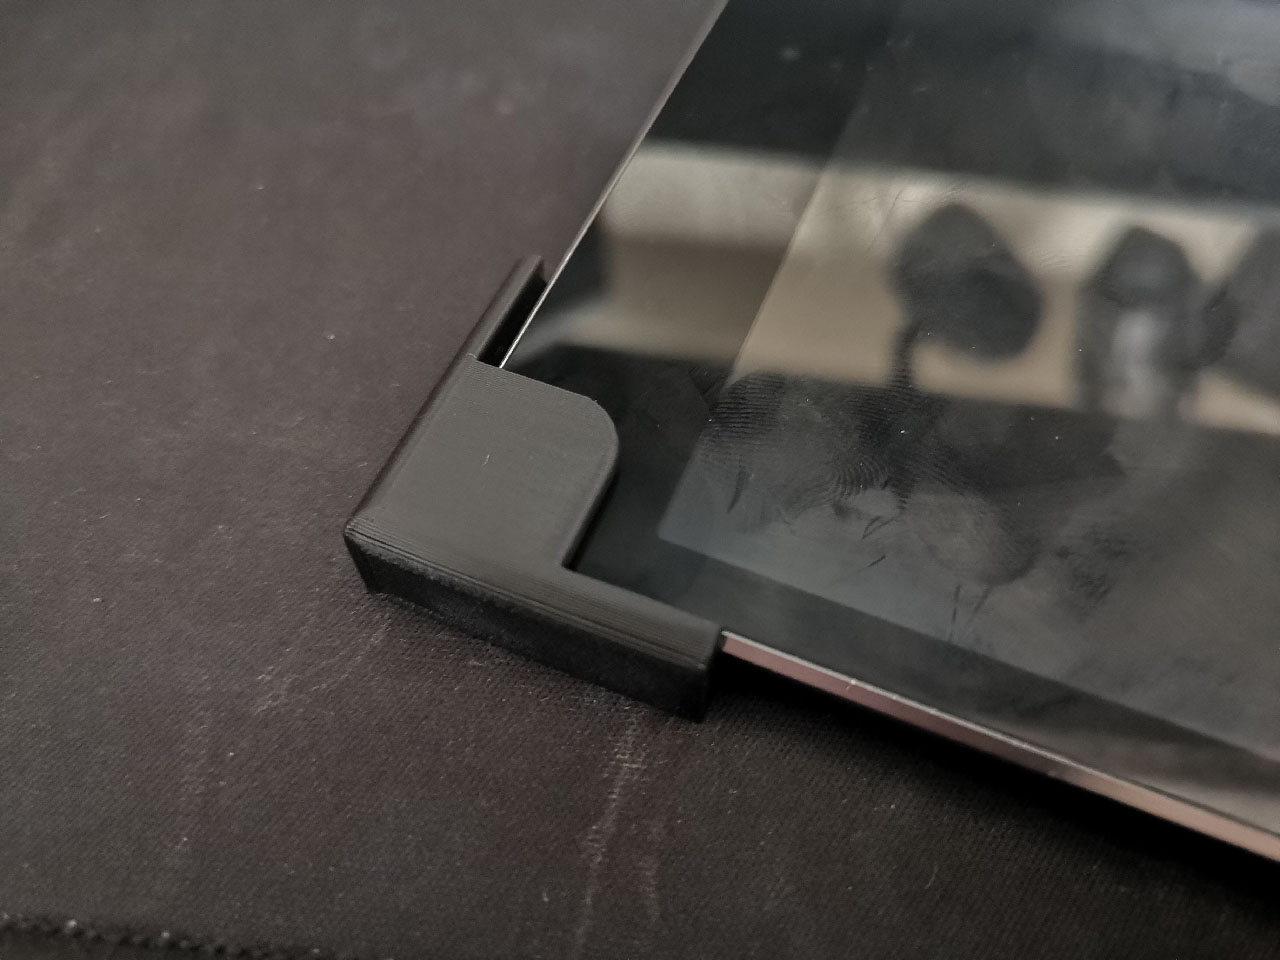
Wonderful, fits snugly into place.
I want it to take as little time to print as possible
These tiny clips are very thin, and I know that, but they arent designed for rough and tumble, They likely never be touched again after I fix them to the wall, so I can afford to make them thin.

I did print them with no infill though. In 3d printing, the interior of a plastic part can be filled with a blank space, with simple supports, to save plastic. I opted to fill my little widgets with solid plastic and it did not extend their printing time that much since they were so small. Printing them solid increases the strength slightly.
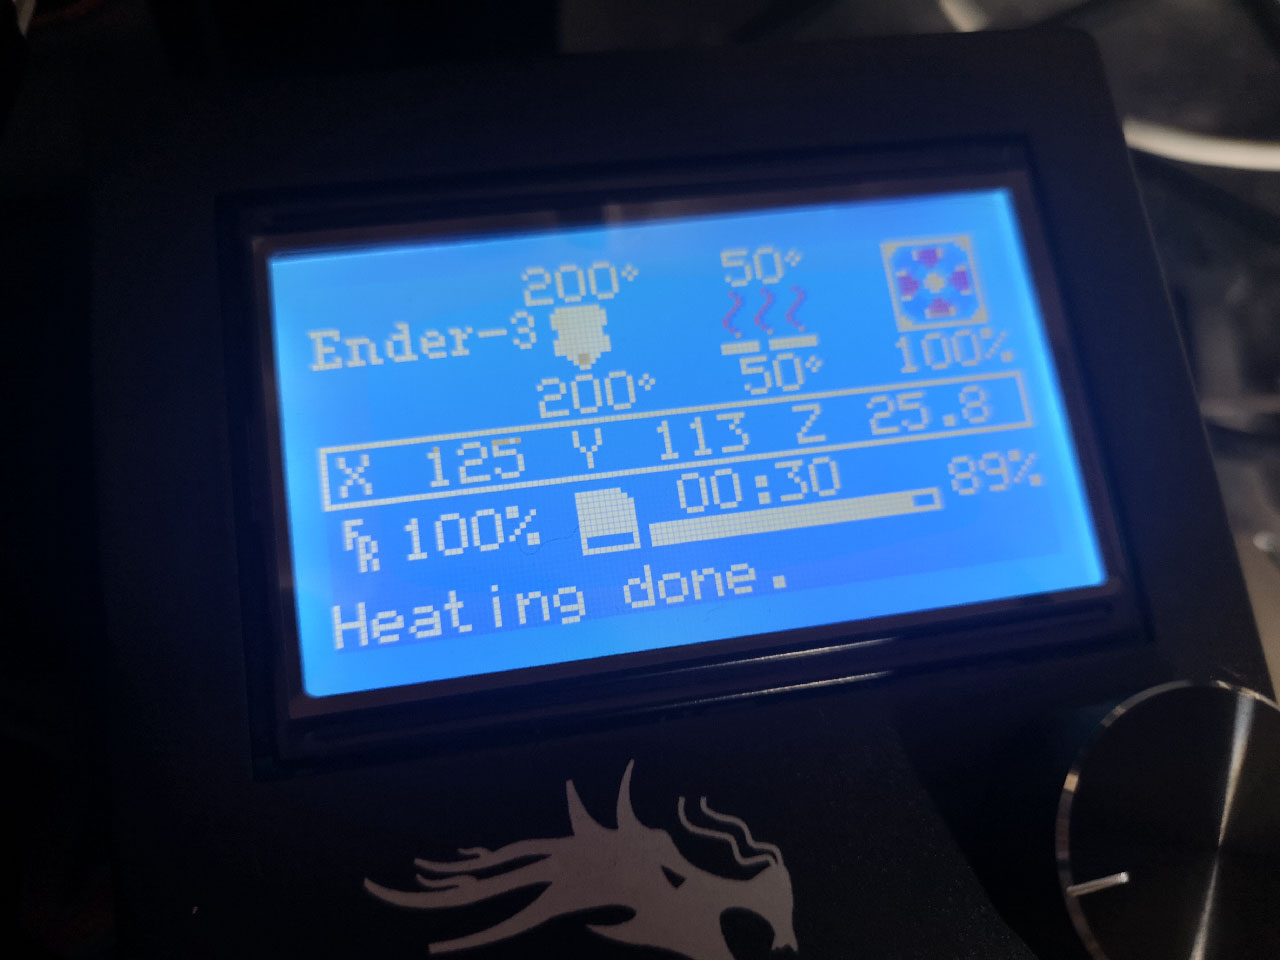
Each little bracket took about 30 minutes, which isn't bad.
I need to be able to fix it to the wall
So I've deliberately left a small flat square on the back of each bracket.
This is so I can use double sided mounting tape. I used Gorilla Glue 3044101 Heavy-Duty Double Sided Mounting Tape to fix it to the wall. It was less than a fiver on Amazon Prime, with free delivery.
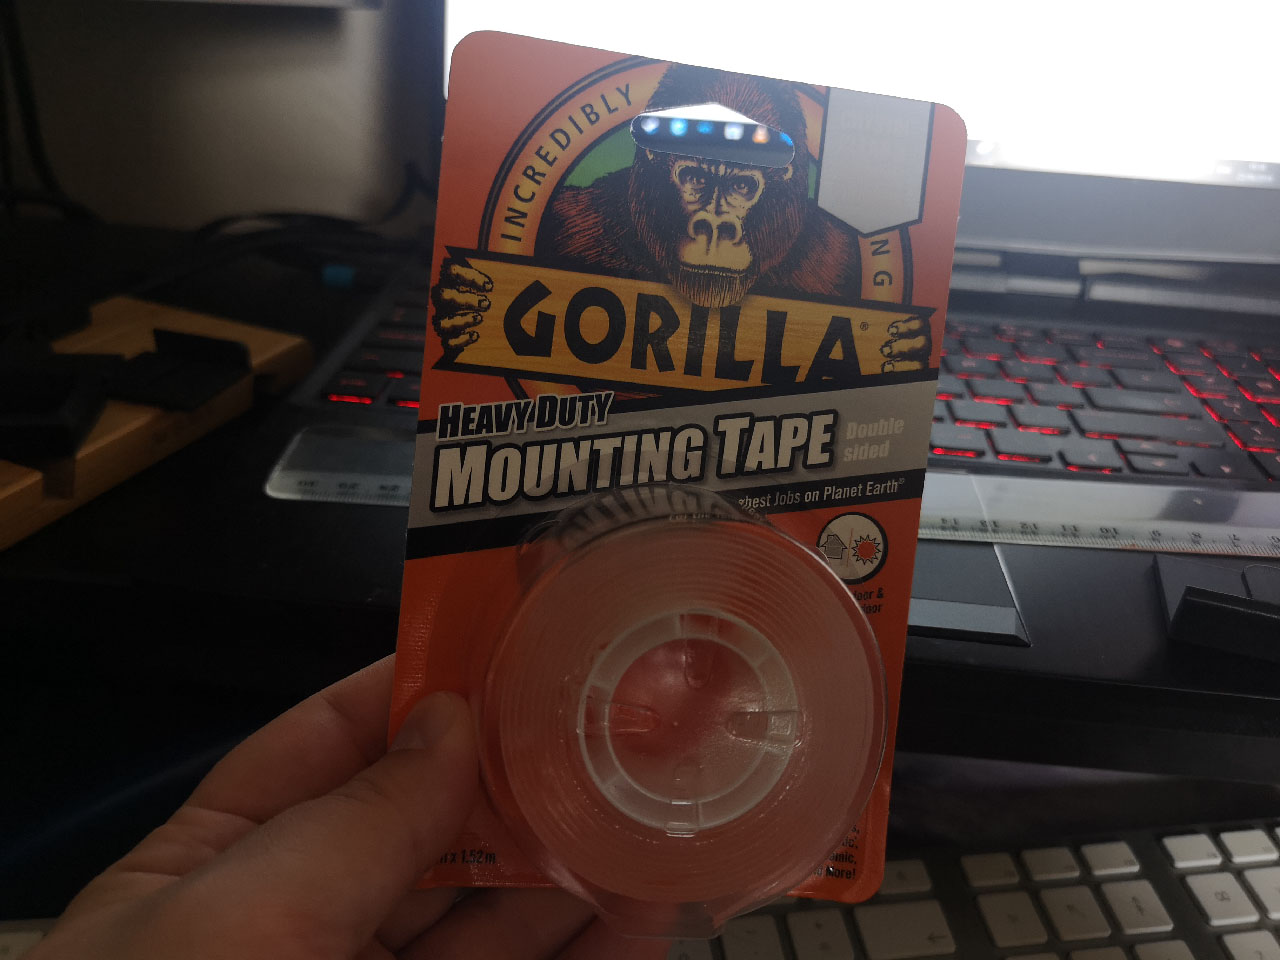
I stuck it to the back of my four little brackets and away we go!

Here it is playing the opening of the wonderful Lego Batman movie.
What Would I Change for Next Time?
Well I said I made parts of it thin to save time, but I would trade another 20 minutes for thicker bits. I think its fine because I wont be rough handling it and its never likely to move, but for others printing this, I might be tempted to thicken up the clips and such.
I would also measure it on the wall using a bubble level. It was slightly wonky when I applied the somewhat permanent sticky pads. Now I will always notice this as I watch episodes of Gordon Ramsay's Kitchen Nightmares as I cook.
Thanks for reading, its been a real slice. 😎
